AC Repair Questions Answered: Troubleshooting Signs Before System Failure
Trust Allred
Recognizing AC Warning Signs Before the Heatwave Hits
Is your cooling system struggling to keep up, leaving you searching to get common homeowner questions answered before the indoor temperature becomes unbearable? In our years of providing local HVAC services, we've found that a malfunctioning air conditioner introduces a concrete problem for any household: determining the correct diagnostic steps before calling a local service professional. When a system begins to short-cycle, blow warm air, or emit strange noises, deciding whether an issue can be safely diagnosed at home or requires immediate professional dispatch is the critical first step. Navigating a general local service diagnostic FAQ helps clarify this boundary, ensuring you do not compromise your equipment or your safety. Knowing the definitive difference between a simple, easily resolved filter issue and a major mechanical system failure prevents unnecessary service calls while protecting your home from catastrophic equipment damage. Understanding the basics of your cooling equipment is the foundation of any comprehensive guide to HVAC services. By taking a neutral, standard-operating-procedure approach to troubleshooting, you can identify common service failures without relying on guesswork. The goal is to establish a clear, factual understanding of how your system operates, what warning signs to look for, and exactly when to hand the diagnostic process over to a licensed professional.
Safe At-Home Troubleshooting vs. Professional Dispatch
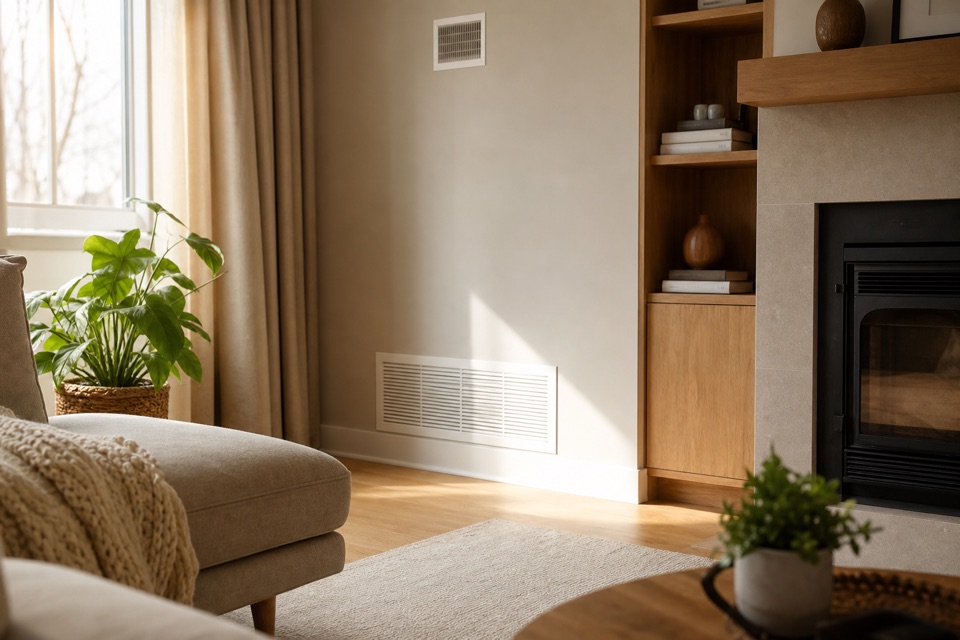
Establishing clear safety thresholds for what a homeowner can check versus what requires a licensed professional is vital for both personal safety and equipment longevity. Our technicians typically see that the problem often starts subtly: the house feels slightly warmer than the thermostat setting, or the airflow from the vents feels weak. The cause is frequently a disruption in basic system maintenance or a tripped safety mechanism. The solution begins with safe, at-home troubleshooting steps that do not require opening sealed components or handling high-voltage electrical connections.
The U.S. Department of Energy strongly recommends replacing HVAC filters every 1 to 3 months to prevent severe airflow restriction. A clogged filter forces the blower motor to work harder, increasing energy consumption and often leading to system overheating or frozen evaporator coils. A pattern we see often on our service calls is a frozen system caused entirely by a neglected filter. Checking and replacing this filter is the single most important diagnostic step a homeowner can safely perform. Additionally, verifying that the thermostat is set to 'cool' rather than 'fan only,' and inspecting the home's main electrical panel for a tripped circuit breaker, are safe and necessary preliminary checks.
However, the line between safe DIY checks and required professional dispatch is strict. Handling refrigerants or interacting with internal electrical components is entirely off-limits for homeowners. AC refrigerants operate under extreme pressure and require EPA Section 608 certification to handle, recover, or top off safely. Unauthorized handling poses severe environmental risks and personal safety hazards, including chemical burns or frostbite. When basic checks do not resolve the issue, you need professional HVAC repair in Auburn, WA to safely assess the sealed refrigeration cycle and high-voltage electrical systems.
| Troubleshooting Task | Safety Classification | Why It Matters |
|---|---|---|
| Replacing the air filter | Safe for Homeowners | Maintains proper airflow and prevents coil freezing. |
| Checking the circuit breaker | Safe for Homeowners | Rules out simple power interruptions to the unit. |
| Clearing debris around the outdoor unit | Safe for Homeowners | Ensures the condenser coil can properly release heat. |
| Testing electrical continuity | Professional Only | Involves high-voltage components that carry lethal current. |
| Checking refrigerant pressure | Professional Only | Requires EPA Section 608 certification and specialized gauges. |

Why Is My AC Running But Not Cooling?
In our daily field operations, one of the most frequently asked questions we receive in any general local service diagnostic FAQ is why a system sounds like it is running perfectly, yet only warm air blows from the registers. The problem is simple to identify but complex to diagnose. The cause generally falls into one of two categories: severe airflow restriction or an inability to absorb and transfer heat due to a compromised refrigeration cycle. The solution requires understanding the basic physics of how your air conditioner works.
An air conditioner does not actually create cold air; it removes heat from the indoor air and transfers it outside. If the system is running but not cooling, severe airflow restriction is a primary suspect. When a filter is completely blocked, or the return vents are obstructed, the system cannot pull enough warm indoor air over the evaporator coil. Without that warm air, the heat transfer process halts. Alternatively, the issue may lie with dirty evaporator coils or low refrigerant levels. If the coils are coated in dust and pet dander, they act as an insulator, preventing the refrigerant inside from absorbing the heat from the air passing over them. If the system has a leak and the refrigerant level drops, there simply is not enough chemical medium to facilitate the heat transfer process.
Providing definitive criteria for shutting down the system versus monitoring it is crucial here. If the air coming from the vents is noticeably warm, continuing to run the system will only overload the compressor, potentially turning a minor leak repair into a total system replacement. While checking the filter is a safe first step, diagnosing refrigerant pressure requires professional gauges and training. If a new filter does not immediately resolve the warm air issue, the system should be turned off at the thermostat until a technician can perform a proper diagnostic assessment.
Decoding Strange AC Noises and Odors
Your cooling system is designed to operate with a consistent, relatively quiet hum. When that baseline changes, interpreting auditory and olfactory warning signs is critical for preventing immediate safety hazards. Different sounds and smells point to very specific mechanical or electrical failures within the unit.
Grinding or squealing noises typically indicate a severe mechanical failure within the blower motor or the outdoor condenser fan. A harsh grinding sound usually means the motor bearings have worn out entirely, causing metal-on-metal friction. Squealing often points to a slipping or degraded fan belt in older units, or failing bearings in newer direct-drive motors.
Banging or clanking sounds suggest that a component has broken loose. This is often an unbalanced fan blade or a loose part rattling inside the compressor casing. Continuing to run a system that is banging can cause the loose part to strike other critical components, multiplying the damage.
Electrical odors, such as the smell of burning plastic, ozone, or melting wire insulation, are severe warning signs. These smells signal overheating electrical components, failing capacitors, or compromised wiring harnesses. A failing motor will often draw excessive amperage, causing the surrounding wires to heat up and emit a distinct burning odor.
Musty or moldy smells usually indicate biological growth within the ductwork or a clogged condensate drain line that has allowed water to pool inside the indoor air handler.
Unusual noises or electrical smells represent a strict threshold for immediate professional dispatch. If you notice any of these signs, cut power to the unit immediately at the thermostat and the breaker box to prevent electrical fires or complete motor burnout, then schedule professional AC repair in Federal Way.
The Dangers of an AC Unit Freezing Up During a Heatwave
It seems counterintuitive, but an air conditioner can actually become too cold, resulting in a solid block of ice forming over the indoor evaporator coil or the outdoor refrigerant lines. Explaining the physics of a freezing AC unit reveals why this happens: it is always a symptom of poor airflow or low refrigerant causing the evaporator coil temperature to drop below the freezing point of water.
Under normal conditions, warm indoor air flows over the cold evaporator coil. The heat from the air is absorbed by the refrigerant, keeping the coil temperature safely above freezing. However, if airflow is restricted by a clogged filter, or if low refrigerant causes a drop in pressure (which in turn causes a drop in temperature), the coil gets too cold. The natural humidity in the indoor air then condenses on the freezing coil and instantly turns to ice. This ice acts as an insulator, further blocking airflow and causing a cascading effect until the entire unit is frozen solid.
This issue is particularly prevalent in specific regional climates. For example, in our experience serving Auburn, WA, we see that our area experiences moderate baseline summers but is increasingly subject to sudden, intense heat spikes that require immediate system reliability. During unexpected Pacific Northwest heat domes, our team responds to countless calls where strained AC systems that may sit idle for months experience sudden start-up failures when they are suddenly pushed to maximum capacity. When a system freezes during these intense heat waves, it cannot cool the home.
If you discover a frozen coil, follow these immediate safe steps:
- Turn the thermostat from the 'cool' setting to the 'off' position immediately to stop the compressor from running.
- Switch the fan setting from 'auto' to 'on' to force warm indoor air over the frozen coil, accelerating the melting process.
- Place towels around the indoor unit, as the melting ice will produce a significant amount of water that can overwhelm the condensate drain pan.
- Wait for the system to thaw completely, which can take anywhere from 4 to 24 hours.
- Once thawed, a professional must diagnose the root cause—whether it is a hidden refrigerant leak or a failing blower motor—to prevent the system from freezing up again the moment it is turned back on.
Behind the Scenes: Standard Professional Diagnostic Procedures
When our licensed technicians arrive at your home, we do not rely on guesswork. Providing a transparent look at the standard operating procedures our professionals follow upon arrival helps homeowners understand the value of expert intervention. A proper diagnostic process identifies the root cause rather than just treating the symptom.
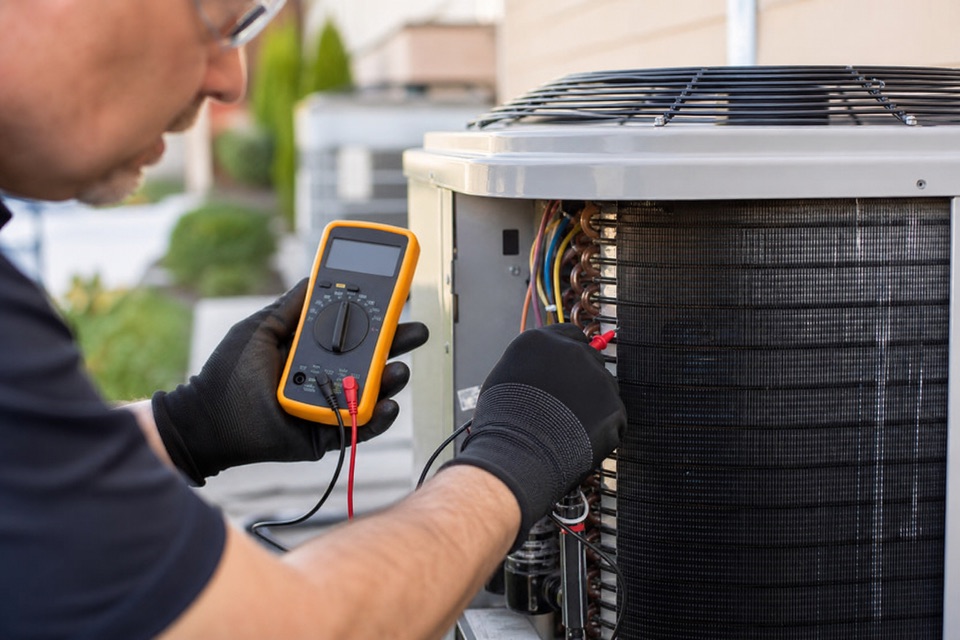
The exact diagnostic steps a professional takes are methodical and data-driven. First, the technician performs electrical continuity testing. By measuring voltage and amperage at the contactor, capacitor, and compressor, they ensure the system is receiving the correct power and that no components are drawing dangerous levels of current. Next, they assess the mechanical components, checking the blower motor and condenser fan for proper rotation, balance, and bearing integrity.
If the electrical and mechanical baselines are sound, the technician moves to the refrigeration cycle. Using specialized gauges, they measure the high and low-pressure sides of the system, calculating the superheat and subcooling metrics. These precise temperature and pressure readings tell the technician exactly how much refrigerant is in the system and how efficiently it is absorbing and releasing heat. Finally, they inspect the condensate management system to ensure water is draining properly without risking property damage.
Strict standard operating procedures protect the homeowner's safety and preserve equipment warranties. Manufacturer warranties explicitly require that diagnostics and repairs be performed by licensed professionals using approved methods. Attempting DIY guesswork with sealed components voids these protections. Because of Allred Heating Cooling Electric's trusted local expertise and commitment to honest, transparent diagnostics, you can trust that our team follows every step of this rigorous SOP, ensuring your system is evaluated safely, accurately, and comprehensively.
When to Shut Down Your System Immediately
While some minor AC issues allow you to monitor the system while waiting for a scheduled service appointment, certain symptoms demand an immediate shutdown to prevent catastrophic failure. Providing definitive rules for when to completely power off the unit is a core component of any general local service diagnostic FAQ. Continuing to run a compromised system under severe distress can quickly turn a relatively minor capacitor repair into a full compressor replacement.
Here is a checklist of critical warning signs that demand an immediate shutdown:
- Visible smoke or sparks: Any sign of combustion near the indoor air handler or the outdoor condenser requires immediate power disconnection at the breaker panel.
- Persistent burning electrical smells: The odor of melting plastic or ozone indicates that wires are overheating or a motor is burning out.
- Loud metal-on-metal grinding: This signifies that bearings have failed entirely, and the motor is actively destroying itself.
- Continuous breaker tripping: If the unit trips the circuit breaker, resetting it once is acceptable. If it trips a second time immediately, leave it off. The breaker is doing its job to protect your home from a dead short or a locked rotor compressor.
- A solid block of ice on the refrigerant lines: As discussed, running a frozen system will eventually destroy the compressor by allowing liquid refrigerant to flood back into it.
Prioritizing long-term safety and equipment lifespan over temporary indoor comfort is the neutral-expert stance every homeowner should adopt. If you encounter any of these severe symptoms, turn the system off and consult a comprehensive HVAC system FAQ or schedule emergency service.
Frequently Asked Questions About AC Troubleshooting
Why is my AC running but not cooling?
If your system is running but only circulating warm air, the most common culprits are restricted airflow or a compromised refrigeration cycle. A severely clogged air filter prevents the system from pulling enough warm air over the evaporator coil to cool it. Alternatively, low refrigerant levels due to a leak will prevent the system from absorbing heat effectively. After checking and replacing a dirty filter, the system should be evaluated by a professional to measure refrigerant pressures.
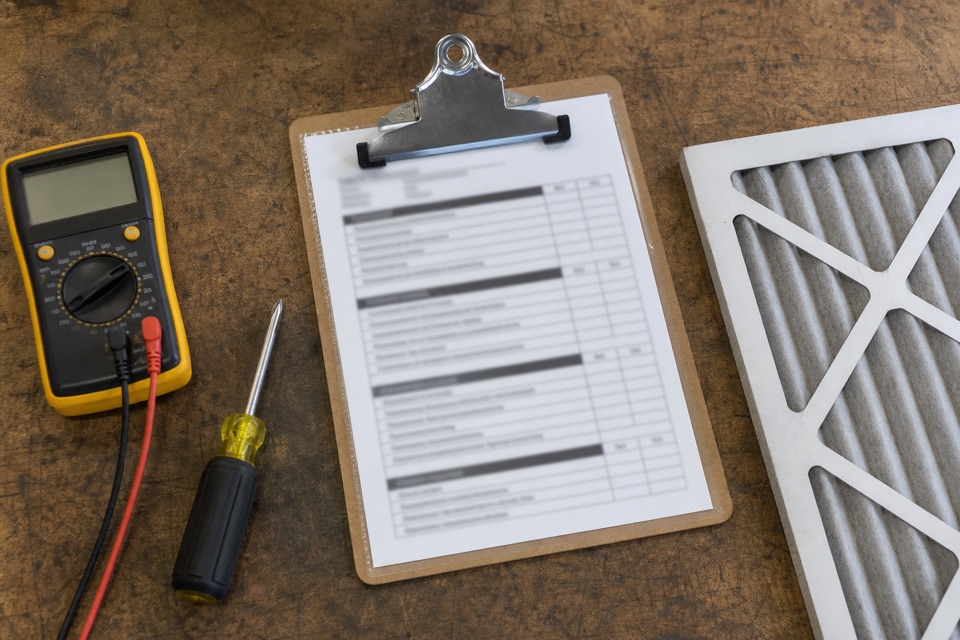
What to check before calling an AC repair professional?
Before scheduling a service call, you should verify that your thermostat is set to 'cool' and that the temperature setpoint is lower than the current room temperature. Next, inspect the indoor air filter for severe blockages and replace it if it is visibly coated in dust. Finally, check your home's main electrical panel to verify that the circuit breaker dedicated to the HVAC system hasn't tripped. If these basic checks do not resolve the issue, professional dispatch is required.
How do I know if my AC compressor is bad?
A failing compressor often gives auditory and electrical warning signs before it completely seizes. Listen for hard starting, clicking, or stuttering when the outdoor unit attempts to turn on, which can indicate the compressor is struggling to overcome internal resistance. You may also note if the system trips the breaker repeatedly upon startup. Ultimately, only a professional can definitively test the compressor's electrical draw and winding continuity to confirm it has failed.
Can I fix my AC myself?
Homeowners can safely perform basic maintenance tasks like replacing air filters and cleaning leaves or debris from around the outdoor condenser unit. However, internal electrical work and refrigerant handling are illegal and unsafe for unlicensed individuals. Attempting DIY repairs on sealed components or high-voltage circuits not only poses a severe risk of injury or fire but also immediately voids manufacturer warranties on the equipment.
What AC troubleshooting steps are safe for homeowners?
Safe troubleshooting is strictly limited to external and non-mechanical checks. You can safely program the thermostat, change the 1-inch or 4-inch media filter in the return grille or air handler, ensure all indoor supply vents are open and unblocked by furniture, and clear a two-foot perimeter around the outdoor unit. Any diagnostic step that requires removing an access panel secured by screws should be left to a licensed technician.
When does an AC noise indicate a safety hazard?
An AC noise indicates a safety hazard when it points to electrical arcing or catastrophic mechanical failure. A loud buzzing or crackling sound near the electrical panel of the unit suggests failing contactors or loose high-voltage wiring, which is a fire hazard. Screeching or heavy metal-on-metal banging indicates a motor is destroying itself, which can lead to overheating and subsequent electrical shorts. In these cases, power should be cut immediately.
Making the Right Call for Your AC System
In our experience helping homeowners across the local area, we've found that understanding the exact difference between safe at-home checks and necessary professional repairs is the key to maintaining a reliable, efficient cooling system. When you are equipped with a clear, structured explanation of the service process and definitive criteria for professional intervention, you can make informed decisions that protect your home. Routine maintenance, such as changing filters and monitoring for unusual noises, empowers you to catch minor issues before they escalate. However, recognizing the strict boundaries of DIY troubleshooting—especially regarding electrical components and refrigerants—ensures you do not inadvertently cause catastrophic damage or void your warranty. By prioritizing safety and equipment longevity, and seeking professional guidance when definitive warning signs appear, you ensure your system remains ready to handle whatever the season brings.
Related Articles
Ready to Get Started?
Whether you need a repair, maintenance, or a new installation, our expert team is here to help.